Japan on a Backpacker Budget
Japan is recognised as being an expensive country. And yes, it’s true – it is expensive compared to other parts of Asia, but it’s cheaper than Australia or the USA.
There’s lot of tricks to travelling on a budget in Japan – and by following my handy tips, you too can keep your costs on the cheap.
This is a tried and tested guide on how to survive on a backpacker budget in Japan. I’ve seen many a blog which touted $165 NZD or more a day as budget. In many countries, that’s my weekly budget!
For my trip through Japan I tried to stick to a budget of $76 NZD a day, which included accommodation, food, transport and activities. For 12 days in Japan, I spent a total of $845 NZD (which included a couple of splurge meals and accommodation). That's an average of $70 NZD a day!
Here’s my tips for sticking to a backpacker budget in Japan.
1. Stay in hostels
This is an obvious one for backpackers – stay in a hostel. Hostels in Japan are modern, extremely clean and usually located not far from a subway station.
I loved the hostels in Japan and while they didn’t fit into my usual accommodation budget of under $22 NZD a day, they were in line with what I’d pay for a dorm bed in Western Europe.
Dorms ranged in price from $27-$38 NZD on average per night. This was for dorms between 6-12 beds. The hostels I stayed in all had air-conditioning, privacy curtains, individual lights, and power outlets on each bed.
Another good thing about staying in hostels in Japan is they also provided soap, shampoo, conditioner and hairdryers for free in their shower rooms! More savings right there.
In addition, all the hostels I stayed at in Japan had kitchens so you could prepare your own meals to save more money.
2. Catch the bus
An easy way to spend lots of money in Japan is by taking the bullet trains! Sure, they are fast and will get you where you need to be quickly but they are almost triple the cost of the bus.
I took a bus from Tokyo to Kyoto. It was an 8 hour trip, but it was an easy ride. The roads are great in Japan and on this particular trip, I was on the highway the whole time so it’s a smooth ride. There was also wifi on the bus, a privacy curtain if you wanted some sleep and the bus stopped every 2-3 hours so you could stretch your legs, use the bathroom or grab some snacks.
You can save lots of money by taking the bus – especially if you take an overnight bus for example between Tokyo and Kyoto. Your accommodation and transport all in one.
3. Buy the JR Pass
If you’re set on taking the bullet trains in Japan, then make sure you buy the JR Pass (Japan Rail Pass) before you leave home. You can’t buy this pass in Japan – it has to be sent to an international address.
If you intend to go lots of places in Japan and want to take the train, the JR Pass is worth the money. You can buy 7, 14 or 21 day passes.
If you’re only planning to go Tokyo, Kyoto and Osaka – it’s not worth getting the JR Pass and you might as well just pay for a one off bullet train between Tokyo and Kyoto – or take the bus.
The JR Pass can also be used on the JR commuter lines in Tokyo, as well as JR run trains in other parts of the country such as between Kyoto, Nara and Osaka.
4. Get convenience store meals
I wish all 7/11 stores were like the ones in Japan. These stores offer a wide selection of readymade meals ranging from sushi, to pasta, to noodles. You can also grab sandwiches.
These meals are good value and I would always go to the 7/11 for a meal at least once a day.
You can also get ready made meals in other convenience stores such as Lawson – and there was also a wide selection in the Fresco supermarkets.
If you’re looking to buy a few groceries, the Fresco supermarkets are your cheapest option. Snacks are also cheap at the Don Quixote stores in Tokyo.
5. Get walking
Japanese cities are great to wander. They’re mostly flat, the footpaths are wide, and you never know what you’ll find on the way – it could be a beautiful shrine, a colourful street filled with bright billboards and lights, or a tranquil park.
Tokyo is a huge city and you will inevitably need to take the subway at some point – but if you plan it right – you can save some dollars by walking to sights close to each other.
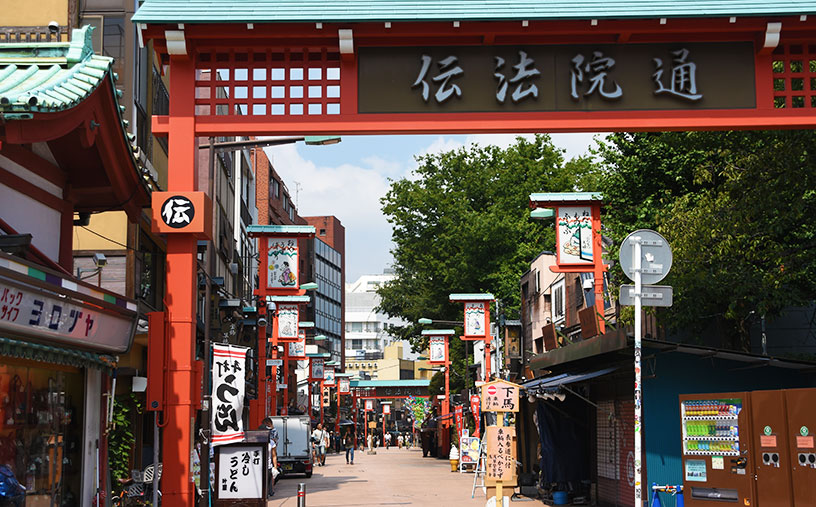
For example, the shrines and parks in the Asakusa and Ueno districts are located close to each other and it’s also close to the popular Electric District of Akihabara.
On the west side of Tokyo, you have places like Shinjuku, Shibuya, Harajuku and the Tokyo Metropolitan Government Building (where you can get a great view of the city for free) all within walking distance of each other.
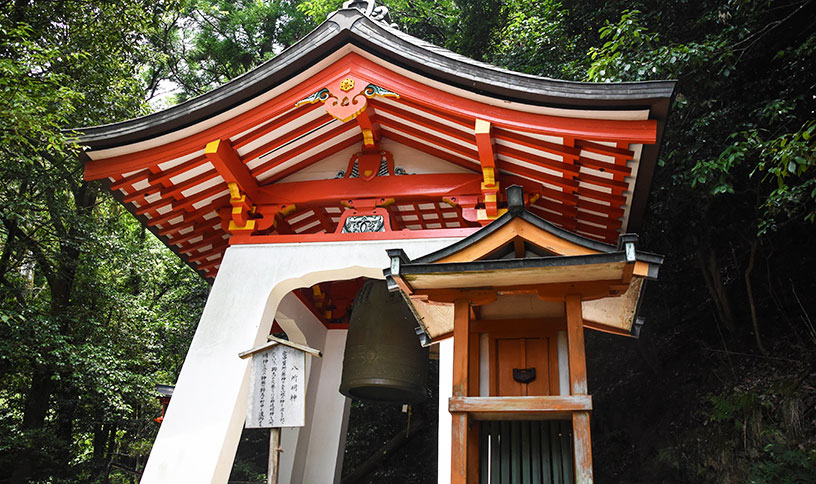
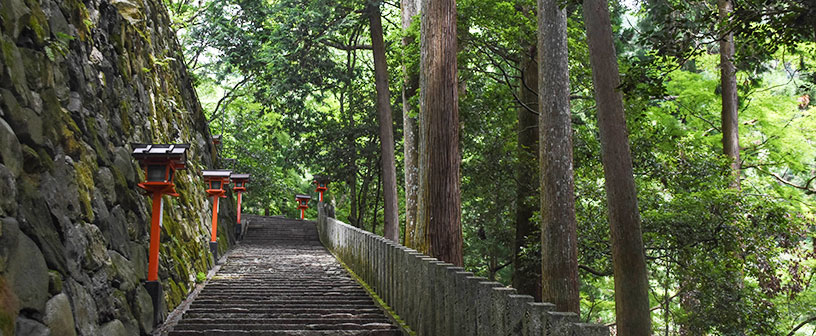
In Kyoto, the only time I had to use the commuter trains was when I had bags and when I went up to Kurama – about a 30 minute train ride north of the city centre. The rest of the time, I walked everywhere as the main sights were located not far from my hostel.
6. Take advantage of public toilets
Unlike many countries I’ve been to – the public toilets inside subway and bus stations are free.
You don’t have to go buy something in a restaurant to use the toilet – just find a subway station.
7. Use the free wi-fi
Free wi-fi is everywhere in Japan. You don’t need to buy a SIM card or pocket wi-fi in Japan.
If you need wi-fi on the run, you can get wi-fi at most bus stations including Tokyo’s Shinjuku Expressway Bus Terminal, and through Lawson convenience stores.
Wi-fi may also be possible to connect to on the subway but it sometimes didn’t work – but you have plenty of other options.
Also make sure you download the Maps.me app to your phone and load up the Japan map – then you can find your way around without any data.
8. Consider options from the airport
There’s many options getting to and from the airports in Japan.
For example, at Tokyo’s Narita Airport, you can get into the centre by bus, train or taxi.
Bus is your cheapest option - but there are also a number of bus companies charging all different prices so don’t blindly buy from the first one you see.
The first one I went up to charged 2000 Yen ($29 NZD) to get into the city – but I’d done my research beforehand and knew there was $1000 Yen ($13 NZD) option. I found it only a 30 second walk from the first one.
Osaka is another place where you have a stream of options to get to the airport depending on how fast you want to get there.
9. Do your research to find free attractions
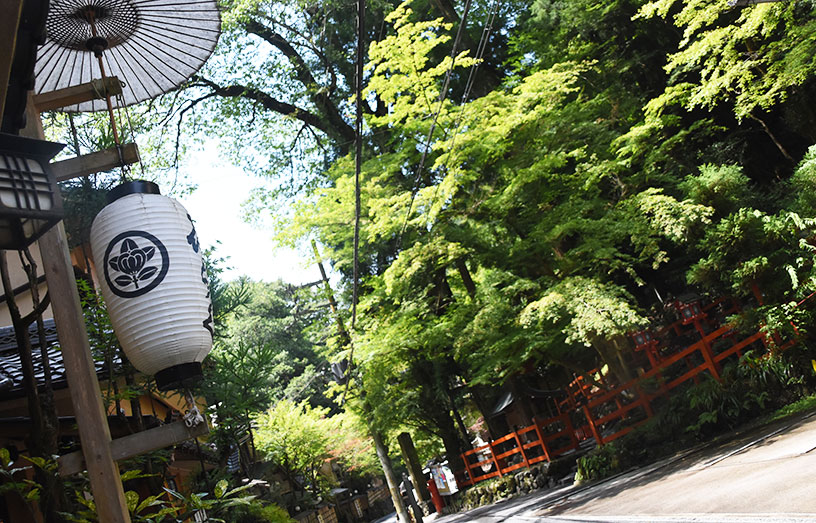
There’s plenty of free sightseeing activities to do in Japan. Most of the popular shrines in Tokyo and Kyoto are free to enter.
And instead of paying 2060 Yen ($28 NZD) for a view of Tokyo from the Tokyo Skytree Tower – you can go up the Tokyo Metropolitan Government Building for free.
Costs Breakdown
Here’s a breakdown of my costs for 12 days in Japan. Total Cost $845 (Average $70 per day).
Tokyo $211 for 4 nights
Accommodation
- Hostel Dorm x 4 nights: $144 ($36 per night). If you’re looking for a hostel in Tokyo, try Space Hostel.
Transport (Metro) x 8 trips (Fish Market, Shinjuku, Tokyo Station): 170-240 Yen ($2-$3) per trip. Approximately $17 total as costs varied by distance.
La vitesse de traitement des paiements influence fortement la satisfaction. Les casinos en ligne avec paiement rapide offrent une meilleure fluidité. Cela renforce la confiance des joueurs.
Food
- Free breakfast. Another guest had left behind bread and jam in the Free Food Container at the hostel and the hostel supplied free tea and coffee.
- Lunch and dinner was a combination of eating out and buying food from 7/11 Convenience Stores. Restaurant meals cost $32 NZD total eating at mostly ramen places where locals ate. Convenience store meals cost $22 NZD total.
Mt Fuji $146 for 2 nights
Transport
- Bus from Shinjuku Bus Terminal to Mt Fuji 5th Station . 2700 Yen ($36 NZD)
- Mt Fuji 5th Station to Lake Kawaguchiko : 1540 Yen ($20 NZD)
- Lake Kawaguchiko to Shinjuku Bus Terminal:: 1750 Yen ($23 NZD)
Accommodation
- Slept on Mt Fuji Summit for one night. Stayed in dorm accommodation at Lake Kawaguchiko for $36 for one night. Paid 1000 Yen ($12) to store luggage in my Tokyo hostel for two nights while I stayed in the Mt Fuji area.
Food
- Lunch at Lake Kawaguchiko 780 Yen ($11 NZD)
- 2xbreakfasts, 1xlunch, 1xdinner bought at 7/11 and Don Quixote stores to have on Mt Fuji 1200 Yen ($17NZD)
Kyoto $232 for 4 nights
Accommodation
- $104 ($26 per night) If you’re looking for a hostel in Kyoto, try Imano Kyoto Kiyomizu Hostel.
Transport
- Bus Tokyo to Kyoto Fukukasa Bus Station $5500 Yen ($68)
- Train Kyoto to Kurama: 420 Yen to Kurama and 380 Yen back as I walked back to the cheaper zone to save money ($12 NZD)
- Train Kyoto to Nara (Return): 570 Yen each way ($16 NZD)
Entrance Fees
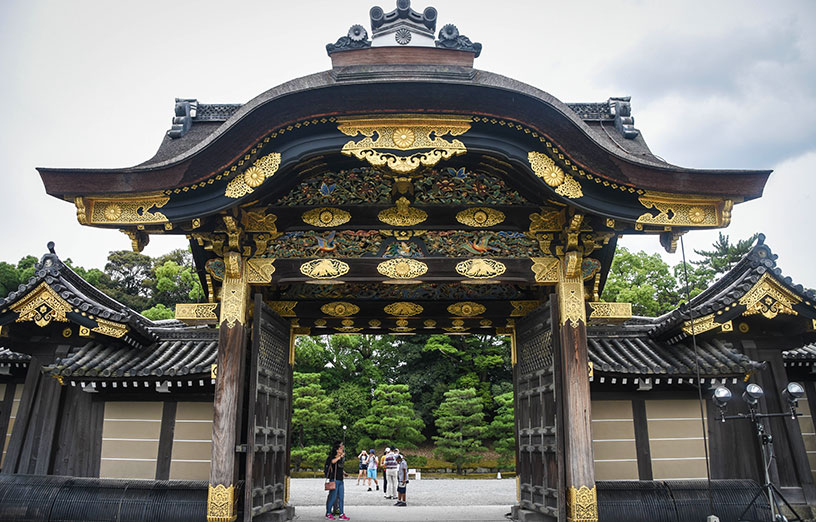
- 300 Yen ($4 NZD) to hike through the Kurama shrine complex, 600 Yen to enter Nijo Castle ($7.40)
Food
Meals and snacks from Fresco. 300-500 Yen for 4 meals (Usually one meal was big enough to split over lunch and dinner). Approximately $27 NZD spend.
Osaka $180.45 for 2 nights
Accommodation
- $135 x 2 nights. This was a splurge as I was with a friend and she wanted a private room so we got an apartment with a kitchen.
Transport
- Bus to Kyoto Station 230 Yen ($3 NZD)
- Train Kyoto to Osaka 710 Yen ($10 NZD)
- Train Nankai Namba Osaka Station to Osaka Kansai Airport 920 Yen ($11.35)
Food
- Splurge meal to try Okonomiyaki (Japanese style pancake) 850 Yen ($10.50). Other meals consisted of cereal for breakfast and 7/11 convenience store meals. Approximately 1000 Yen ($14 NZD)
By following my tips in this handy guide, you too can travel to Japan and not burn a hole in your wallet.
Lisa Owen is a pint-sized Australian following her dreams to travel to as many places as she can, and loves to share her photography, travel hacks, hiking adventures, and food discoveries along the way. At last count, she has travelled to more than 70 countries in between working in public relations and discovering hidden gems in Australia's great outdoors. Instagram: @thelittleadventurer. Facebook: The Little Adventurer Australia.
The views, opinions and positions expressed by the author and those providing comments are theirs alone, and are meant as travel inspiration only. They do not reflect the opinions of Cover-More Insurance. You should always read the Policy Documents available from your travel insurance provider to understand the limits, exclusions and conditions of your policy and to ensure any activities you undertake are covered by your policy.